Henna Tattoos: A Comprehensive Guide on How to Apply and Maintain Them
Henna tattoos, also known as mehndi, have been a significant part of cultural celebrations and body art for centuries. Originating in South Asia, the Middle East, and Africa, henna is derived from a flowering plant and used to create temporary skin stains. The intricate designs and natural origin of henna make it a popular choice for those seeking a beautiful and temporary form of body art. This guide will provide a comprehensive overview of henna tattoos, covering everything from preparation to application and aftercare. If you’re curious about how to create stunning henna tattoos, you’ve come to the right place.
Understanding Henna and Its Origins
The history of henna dates back thousands of years, with evidence suggesting its use in ancient Egypt. It has since become an integral part of various cultures, often associated with weddings, festivals, and religious ceremonies. The henna plant, *Lawsonia inermis*, contains a dye called lawsone, which binds to the protein in skin, resulting in a stain that can last from one to three weeks, depending on factors like skin type and aftercare. Genuine henna tattoos use natural henna paste, which is generally safe, but it’s crucial to avoid products containing chemical additives, particularly black henna, which can cause severe skin reactions.
Preparing Your Skin for a Henna Tattoo
Proper preparation is key to achieving a vibrant and long-lasting henna tattoo. Start by exfoliating the area where you plan to apply the henna. This removes dead skin cells, allowing the henna to penetrate deeper. Avoid using lotions or oils on the skin before application, as they can create a barrier that prevents the henna from staining effectively. Clean the area thoroughly with soap and water, and dry it completely before proceeding.
Gathering Your Supplies
To create your own henna tattoo, you will need a few essential supplies:
- Henna Powder: Opt for high-quality, natural henna powder.
- Essential Oils: Certain essential oils, such as lavender or tea tree oil, enhance the staining process.
- Lemon Juice or Water: Used to create the henna paste.
- Applicator: This can be a cone, syringe, or brush, depending on your preference and the intricacy of the design.
- Design Stencils (Optional): Helpful for beginners or those seeking precise patterns.
- Cotton Balls or Tissues: For cleaning up mistakes.
- Sugar and Lemon Juice Mixture: To seal the henna design after application.
Making Henna Paste: A Step-by-Step Guide
Creating your own henna paste allows you to control the ingredients and consistency, ensuring a quality stain. Here’s how to make it:
- Sift the Henna Powder: This removes any clumps and ensures a smooth paste.
- Mix with Lemon Juice or Water: Gradually add the liquid to the henna powder, mixing until you achieve a consistency similar to toothpaste.
- Add Essential Oils: Incorporate a few drops of essential oil to enhance the staining properties.
- Let it Sit: Cover the paste and let it sit for at least 4-6 hours, or preferably overnight, in a warm place. This allows the dye to release from the henna powder.
- Test the Paste: Before applying, test a small amount of the paste on your skin to ensure you don’t have any adverse reactions.
Applying the Henna Tattoo
Now that your skin is prepared and your henna paste is ready, it’s time to apply the henna tattoo. If you’re using a stencil, apply it to your skin and carefully fill in the design with henna paste. If you’re freehanding, take your time and use a steady hand. Apply a thick layer of henna paste, ensuring it covers the entire design. [See also: Intricate Henna Designs for Beginners]
Tips for Applying Henna
- Practice Makes Perfect: If you’re new to henna, practice on paper or a less visible area of your body before attempting a complex design.
- Use a Comfortable Applicator: Choose an applicator that feels comfortable in your hand and allows you to control the flow of the paste.
- Work in a Well-Lit Area: Good lighting is essential for seeing the details of your design.
- Take Breaks: If you’re working on a large or intricate design, take breaks to avoid fatigue.
Aftercare: Ensuring a Long-Lasting Stain
Proper aftercare is crucial for achieving a dark and long-lasting henna tattoo. Once the henna paste has dried (usually after 20-30 minutes), apply a mixture of sugar and lemon juice to seal the design. This helps keep the paste moist and in contact with the skin longer. Leave the henna paste on for as long as possible, ideally 2-6 hours, or even overnight. Avoid washing the area with soap and water. Instead, gently scrape off the dried henna paste. Apply a natural oil, such as coconut or olive oil, to moisturize the skin and protect the stain. Avoid using harsh chemicals or exfoliants on the area, as they can fade the stain.
Do’s and Don’ts of Henna Aftercare
- Do: Keep the area moisturized with natural oils.
- Do: Avoid excessive washing with soap.
- Do: Protect the area from sunlight.
- Don’t: Use harsh chemicals or exfoliants.
- Don’t: Scrub the area vigorously.
Troubleshooting Common Issues
Even with careful preparation and application, you may encounter some issues with your henna tattoo. Here are some common problems and how to address them:
- Faint Stain: This can be due to insufficient preparation, poor-quality henna paste, or inadequate aftercare. Ensure you are using high-quality henna powder, preparing your skin properly, and following the aftercare guidelines.
- Uneven Stain: This can be caused by uneven application of the henna paste or variations in skin type. Apply the henna paste evenly and ensure it is in contact with the skin for the same amount of time.
- Allergic Reaction: Although rare with natural henna, allergic reactions can occur, especially with black henna. If you experience itching, redness, or swelling, discontinue use immediately and consult a healthcare professional.
The Dangers of Black Henna
It is essential to be aware of the dangers of black henna, which contains a chemical dye called paraphenylenediamine (PPD). PPD can cause severe allergic reactions, including blistering, scarring, and permanent skin damage. Genuine henna tattoos use natural henna paste, which is safe and produces a reddish-brown stain. Always ask about the ingredients of the henna paste before getting a tattoo, and avoid any product that claims to produce a black stain quickly. [See also: The Risks of Black Henna and How to Avoid Them]
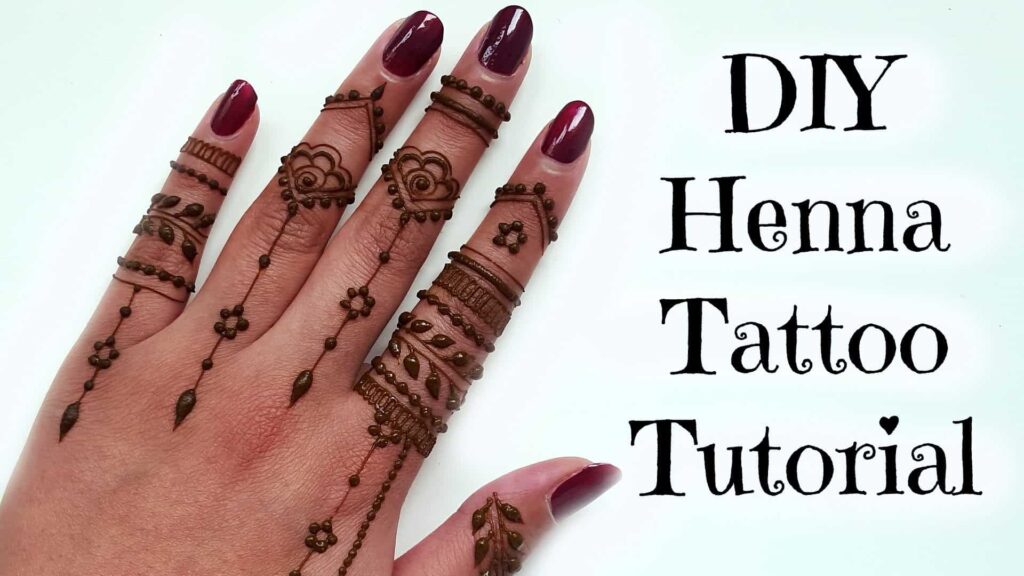
Henna Tattoo Designs and Inspiration
The possibilities for henna tattoo designs are endless. From traditional floral patterns to modern geometric shapes, you can find inspiration from various sources. Consider the cultural significance of different designs and choose patterns that resonate with you. Online resources, such as Pinterest and Instagram, offer a wealth of inspiration for henna tattoo designs. Experiment with different styles and techniques to create your unique look.
Popular Henna Design Elements
- Floral Motifs: Flowers are a classic choice for henna designs, symbolizing beauty and femininity.
- Paisley Patterns: These intricate teardrop-shaped motifs add a touch of elegance and sophistication.
- Geometric Shapes: Modern and minimalist designs often incorporate geometric shapes, such as triangles, squares, and circles.
- Animal Symbols: Animals, such as peacocks and elephants, can add cultural significance to your henna design.
Henna as a Form of Self-Expression
Henna tattoos are more than just temporary body art; they are a form of self-expression and cultural celebration. Whether you’re adorning your hands for a wedding or expressing your creativity with a unique design, henna allows you to connect with ancient traditions and express your individuality. By understanding the history, preparation, application, and aftercare of henna, you can create beautiful and meaningful body art that lasts.
Conclusion: Mastering the Art of Henna Tattoos
Creating henna tattoos is a rewarding and creative process that allows you to explore the rich traditions of body art. By following this comprehensive guide, you can learn how to prepare your skin, make henna paste, apply the design, and ensure a long-lasting stain. Remember to always use natural henna and avoid products containing harmful chemicals. With practice and patience, you can master the art of henna and create stunning designs that reflect your unique style and personality. So, gather your supplies, embrace your creativity, and embark on your henna journey today! Enjoy the beautiful and temporary art of henna tattoos!
