Decoding Low Voltage Landscape Wiring: A Comprehensive Guide
Low voltage landscape wiring is the backbone of any aesthetically pleasing and functional outdoor lighting system. From illuminating pathways and highlighting architectural features to creating a safe and inviting outdoor space, understanding the ins and outs of low voltage landscape wiring is crucial for both homeowners and professionals. This guide will delve into the essentials, covering everything from wire types and gauge selection to installation best practices and troubleshooting common issues. Properly installed and maintained low voltage landscape wiring ensures your outdoor lighting shines brightly and reliably for years to come.
Why Choose Low Voltage Landscape Lighting?
Before diving into the specifics of wiring, it’s important to understand why low voltage systems are so popular for landscape lighting. The primary reason is safety. Working with 12-volt or 24-volt systems significantly reduces the risk of electric shock compared to standard household voltage (120V or 240V). This makes it a safer option for outdoor environments where moisture and accidental contact are more likely. Furthermore, low voltage systems are more energy-efficient, resulting in lower electricity bills. The ease of installation is another major draw; often, homeowners can tackle low voltage landscape wiring projects themselves without requiring a licensed electrician, though consulting with a professional is always recommended, especially for larger or more complex installations.
Understanding Low Voltage Landscape Wiring Components
A typical low voltage landscape lighting system comprises several key components:
- Transformer: This device steps down the standard household voltage (120V) to a lower, safer voltage (typically 12V or 24V). Transformers are typically housed in weatherproof enclosures and are sized based on the total wattage of the connected lights.
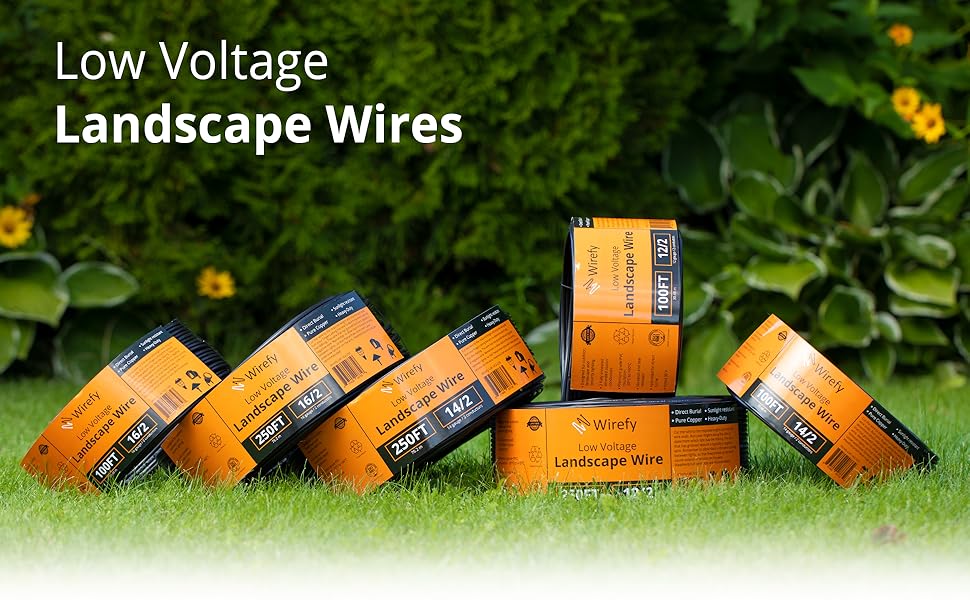
- Wire: The wire carries the low voltage electricity from the transformer to the light fixtures. Selecting the correct wire gauge is crucial for ensuring adequate voltage and preventing voltage drop.
- Connectors: These connect the wires to the transformer and the light fixtures. Waterproof connectors are essential for outdoor applications to prevent corrosion and ensure reliable connections.
- Light Fixtures: These are the visible elements of the system, ranging from path lights and spotlights to floodlights and deck lights. Choose fixtures designed for low voltage systems.
Selecting the Right Wire Gauge for Low Voltage Landscape Wiring
Choosing the correct wire gauge is paramount for a properly functioning low voltage landscape lighting system. Using a wire that is too thin can lead to voltage drop, resulting in dim or flickering lights. Conversely, using a wire that is unnecessarily thick can be more expensive and difficult to work with. The appropriate wire gauge depends on two primary factors: the wattage of the lights and the distance from the transformer to the lights.
The Importance of Voltage Drop
Voltage drop is the reduction in voltage as electricity travels through a wire. The longer the wire and the higher the current (wattage), the greater the voltage drop. Excessive voltage drop can significantly reduce the brightness of your lights and even damage the transformer. To minimize voltage drop, use a thicker wire gauge for longer runs and higher wattage loads.
Wire Gauge Chart for Low Voltage Landscape Lighting
Here’s a general guideline for selecting wire gauge based on wattage and distance. Always consult the manufacturer’s recommendations for your specific lights and transformer.
| Wire Gauge | Maximum Wattage at 100 Feet (12V) | Maximum Wattage at 100 Feet (15V) |
|---|---|---|
| 16 Gauge | 40 Watts | 50 Watts |
| 14 Gauge | 60 Watts | 75 Watts |
| 12 Gauge | 80 Watts | 100 Watts |
| 10 Gauge | 120 Watts | 150 Watts |
Note: This chart is a simplified guideline. Always verify the specific requirements of your lighting system. For longer runs, consider using a heavier gauge wire or splitting the circuit into multiple runs.
Types of Low Voltage Landscape Wiring
Several types of wire are commonly used for low voltage landscape lighting. The most popular options include:
- Direct Burial Wire: This type of wire is specifically designed for direct burial in the ground without the need for conduit. It features a thick, durable insulation that protects the wire from moisture, abrasion, and chemicals in the soil. Direct burial wire is the preferred choice for most landscape lighting installations.
- Underground Feeder (UF) Cable: While primarily used for higher voltage applications, UF cable can also be used for low voltage landscape wiring. It is similar to direct burial wire but typically has a slightly different construction.
- Speaker Wire: Although sometimes used in a pinch, speaker wire is not recommended for landscape lighting. It is not designed for direct burial and lacks the necessary insulation to withstand the harsh outdoor environment. Using speaker wire can lead to corrosion, short circuits, and potential safety hazards.
Low Voltage Landscape Wiring Installation Best Practices
Proper installation is critical for ensuring the longevity and reliability of your low voltage landscape lighting system. Here are some best practices to follow:
- Plan Your Layout: Before you start digging, plan the layout of your lighting system. Determine the placement of each light fixture and the path of the wiring. This will help you estimate the amount of wire you need and identify any potential obstacles.
- Bury the Wire: Bury the wire at least 6 inches deep to protect it from damage from lawnmowers, gardening tools, and foot traffic. Use a trenching tool or a shovel to create a narrow trench along the planned route.
- Use Waterproof Connectors: Use waterproof connectors to connect the wires to the transformer and the light fixtures. These connectors will prevent moisture from entering the connections and causing corrosion.
- Test the System: After you have installed all the wiring and fixtures, test the system to ensure that everything is working properly. Turn on the transformer and check each light fixture to make sure it is illuminated.
- Secure the Wires: Secure the wires to the ground using landscape staples or wire clips. This will prevent the wires from being accidentally pulled up or damaged.
- Consider a Timer or Photocell: A timer or photocell can automatically turn your landscape lights on and off, saving energy and providing added security.
Troubleshooting Common Low Voltage Landscape Wiring Problems
Even with proper installation, problems can sometimes arise with low voltage landscape lighting systems. Here are some common issues and how to troubleshoot them:
- Dim or Flickering Lights: This is often caused by voltage drop. Check the wire gauge and the distance from the transformer to the lights. If the wire is too thin or the distance is too long, upgrade to a thicker wire gauge or split the circuit into multiple runs. Also, check for loose connections or corroded terminals.
- Lights Not Working: Check the bulb first. If the bulb is good, check the connections to the fixture and the transformer. Use a multimeter to test for voltage at the fixture. If there is no voltage, there may be a break in the wire or a problem with the transformer.
- Transformer Overload: If the transformer is overloaded, it will shut down automatically. Check the total wattage of the lights and make sure it does not exceed the transformer’s capacity. If it does, reduce the number of lights or upgrade to a larger transformer.
- Water Damage: Water can damage the wiring, connectors, and transformer. Make sure all connections are waterproof and that the transformer is housed in a weatherproof enclosure. Check for signs of corrosion and replace any damaged components.
Safety Precautions When Working with Low Voltage Landscape Wiring
While low voltage systems are generally safer than high voltage systems, it’s still important to take precautions when working with electricity:
- Turn Off the Power: Always turn off the power to the transformer before working on any wiring.
- Use Insulated Tools: Use insulated tools to prevent electric shock.
- Wear Safety Glasses: Wear safety glasses to protect your eyes from debris.
- Work in Dry Conditions: Avoid working in wet conditions.
- Consult a Professional: If you are not comfortable working with electricity, consult a qualified electrician.
The Future of Low Voltage Landscape Lighting
The future of low voltage landscape lighting is bright, with advancements in LED technology and smart home integration. LED lights are becoming increasingly energy-efficient and long-lasting, reducing the need for frequent bulb replacements. Smart home systems allow you to control your landscape lighting remotely, set schedules, and even integrate it with other smart home devices. These advancements are making low voltage landscape lighting more convenient, efficient, and customizable than ever before.
Conclusion
Low voltage landscape wiring is a critical component of any successful outdoor lighting system. By understanding the basics of wire selection, installation, and troubleshooting, you can create a beautiful and functional outdoor space that enhances your home’s curb appeal and provides added security. Remember to prioritize safety and consult with a professional if you have any questions or concerns. With proper planning and execution, your low voltage landscape lighting system will provide years of enjoyment.
This guide provided a comprehensive overview of low voltage landscape wiring. Remember to always consult with local codes and regulations before starting any electrical project. [See also: Outdoor Lighting Design Ideas] [See also: Choosing the Right Landscape Lighting Fixtures] [See also: LED Landscape Lighting: Benefits and Considerations]
