Mastering Automatic Fence Gates in Minecraft: A Comprehensive Guide
In the expansive and endlessly creative world of Minecraft, automation is key to efficiency and innovation. One such automation technique involves creating an automatic fence gate. An automatic fence gate not only enhances the security of your base but also adds a touch of sophistication to your Minecraft builds. This guide will provide a comprehensive walkthrough on how to construct and utilize automatic fence gates, ensuring your Minecraft experience is both protected and streamlined.
Understanding the Basics of Automatic Fence Gates
Before diving into the construction process, it’s essential to understand the fundamental components that make an automatic fence gate function. These components include:
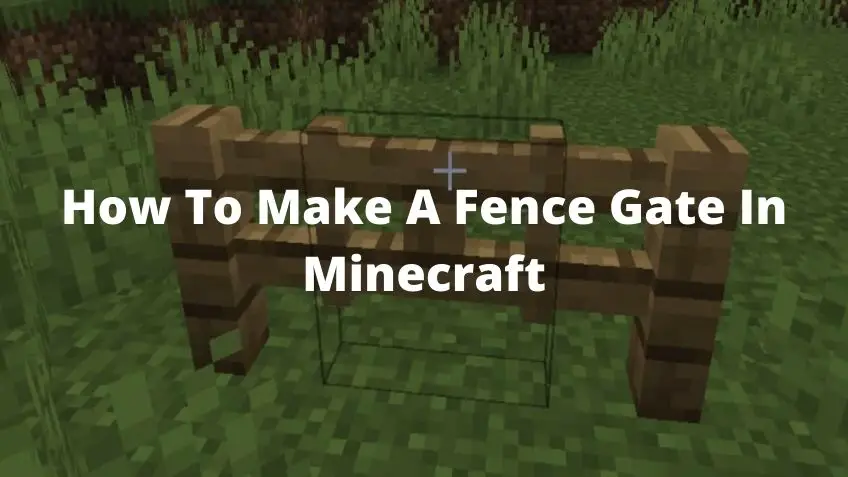
- Fence Gate: The core element that allows passage through a fenced area.
- Pressure Plate: A trigger mechanism that activates when a player or mob steps on it.
- Redstone Dust: The wiring system that transmits the signal from the pressure plate to the fence gate.
- Redstone Torch: A continuous power source for redstone circuits.
- Redstone Repeater: Strengthens and extends the redstone signal over longer distances.
- Piston (Optional): Used in more complex designs for retracting blocks or gates.
By combining these elements, you can create a simple yet effective automatic fence gate that opens and closes automatically.
Simple Automatic Fence Gate Design
Let’s start with a basic design that’s perfect for beginners. This setup uses pressure plates to trigger the fence gate.
Materials Needed:
- 1 Fence Gate
- 2 Pressure Plates
- Redstone Dust (a small amount)
- Building blocks (for aesthetics and structure)
Step-by-Step Instructions:
- Place the Fence Gate: Position the fence gate where you want the entrance to be in your fence.
- Position Pressure Plates: Place one pressure plate on either side of the fence gate, directly in front of it.
- Connect with Redstone: Place redstone dust connecting each pressure plate to the fence gate. Ensure the redstone dust is within one block of the fence gate on both sides.
- Test the Gate: Step on one of the pressure plates. The fence gate should open automatically. When you step off, it should close.
This simple design is effective for basic needs, such as keeping animals in or out of an enclosure. However, it’s worth noting that any entity (including hostile mobs) can trigger the pressure plates.
Advanced Automatic Fence Gate Designs
For more secure and sophisticated setups, consider these advanced designs.
Using Redstone Torches and Inverters
This design uses redstone torches to create an inverted signal, meaning the gate is normally closed and only opens when triggered by a specific condition. This can be useful for creating more controlled access points.
Materials Needed:
- 1 Fence Gate
- 2 Pressure Plates
- Redstone Dust
- Redstone Torch
- Building Blocks
Construction Steps:
- Place the Fence Gate: As before, start by placing the fence gate.
- Set up the Inverter: Place a block next to the fence gate. Put a redstone torch on the side of this block facing the fence gate. This torch will normally power the gate, keeping it closed.
- Connect the Pressure Plates: Run redstone dust from each pressure plate to the block with the redstone torch. When a pressure plate is activated, it will cut power to the torch, opening the gate.
- Test the Setup: Step on the pressure plate to ensure the gate opens when triggered and closes when the pressure is removed.
Using Pistons for Retractable Gates
For a more visually appealing and secure gate, consider using pistons to retract blocks that act as the gate. This design is more complex but offers a higher level of security and a cleaner aesthetic.
Materials Needed:
- 2 Sticky Pistons
- 2 Blocks (to act as the gate)
- Pressure Plates
- Redstone Dust
- Redstone Repeater (if needed for signal strength)
- Building Blocks
Construction Steps:
- Place the Pistons: Position the sticky pistons facing each other, with a one-block gap between them.
- Attach the Gate Blocks: Place the blocks you want to use as the gate on the faces of the pistons. When the pistons are extended, these blocks will meet, forming the gate.
- Wire the Pistons: Run redstone dust from pressure plates on either side of the gate to the pistons. You may need to use redstone repeaters to ensure the signal is strong enough to activate both pistons.
- Conceal the Wiring: Use building blocks to hide the redstone wiring and pistons, making the gate look more seamless.
- Test the Gate: Step on the pressure plates to ensure the pistons retract the blocks, opening the gate. When you step off, the pistons should extend, closing the gate.
Tips for Optimizing Your Automatic Fence Gate
- Signal Strength: Redstone signals weaken over distance. Use redstone repeaters to maintain the signal strength, especially in longer circuits.
- Concealment: Hide your redstone wiring and mechanisms for a cleaner look. Use building blocks that match your surrounding environment.
- Security: Consider using hidden pressure plates or levers to prevent unwanted access.
- Mob Proofing: Ensure your design prevents mobs from triggering the gate unintentionally. This can be achieved by using player-only pressure plates or other advanced redstone logic.
Troubleshooting Common Issues
Even with careful planning, you might encounter issues with your automatic fence gate. Here are some common problems and their solutions:
- Gate Not Opening: Check the redstone wiring for breaks or disconnections. Ensure the pressure plates are properly connected to the gate.
- Weak Signal: Use redstone repeaters to boost the signal strength.
- Mobs Triggering the Gate: Use player-only pressure plates or add a delay to the gate mechanism.
- Pistons Not Retracting: Ensure the pistons are sticky pistons and that they are receiving enough power.
Applications of Automatic Fence Gates
Automatic fence gates aren’t just about security; they can also enhance various aspects of your Minecraft gameplay.
- Animal Farms: Automate the process of entering and exiting animal enclosures, making farming more efficient.
- Base Security: Protect your base from hostile mobs and unwanted visitors.
- Hidden Entrances: Create secret passages and hidden rooms using retractable gates.
- Automated Transportation Systems: Integrate gates into minecart systems for automated stops and routes.
The Future of Automatic Fence Gates in Minecraft
As Minecraft continues to evolve, so too will the possibilities for automatic fence gates. With each update, new redstone components and mechanics are introduced, allowing for increasingly complex and innovative designs. Experimenting with these new features can lead to even more efficient and secure gate systems.
Conclusion
Mastering automatic fence gates in Minecraft is a valuable skill that can significantly improve your gameplay experience. Whether you’re building a simple animal farm or a heavily fortified base, an automatic fence gate provides convenience, security, and a touch of automation to your world. By understanding the basic components, following the construction steps, and troubleshooting common issues, you can create a gate system that meets your specific needs and enhances your Minecraft adventures. So, grab your redstone and building blocks, and start automating your world today!
An automatic fence gate offers a significant advantage in Minecraft, allowing for seamless entry and exit while maintaining security. By understanding the underlying mechanics and experimenting with different designs, you can create a gate system that perfectly suits your needs. Whether it’s a simple pressure plate setup or a complex piston-driven masterpiece, the possibilities are endless.
Remember, the key to success with automatic fence gates lies in understanding redstone and its various components. Take the time to experiment and learn, and you’ll be well on your way to creating some truly impressive automated systems in your Minecraft world. Happy building!
[See also: Minecraft Redstone Circuits for Beginners]
[See also: Advanced Minecraft Building Techniques]
